How to create an interactive Listing
You must be running uSkinned Site Builder 4.1.0 or above to use this functionality.
Create your Listing
Step 1
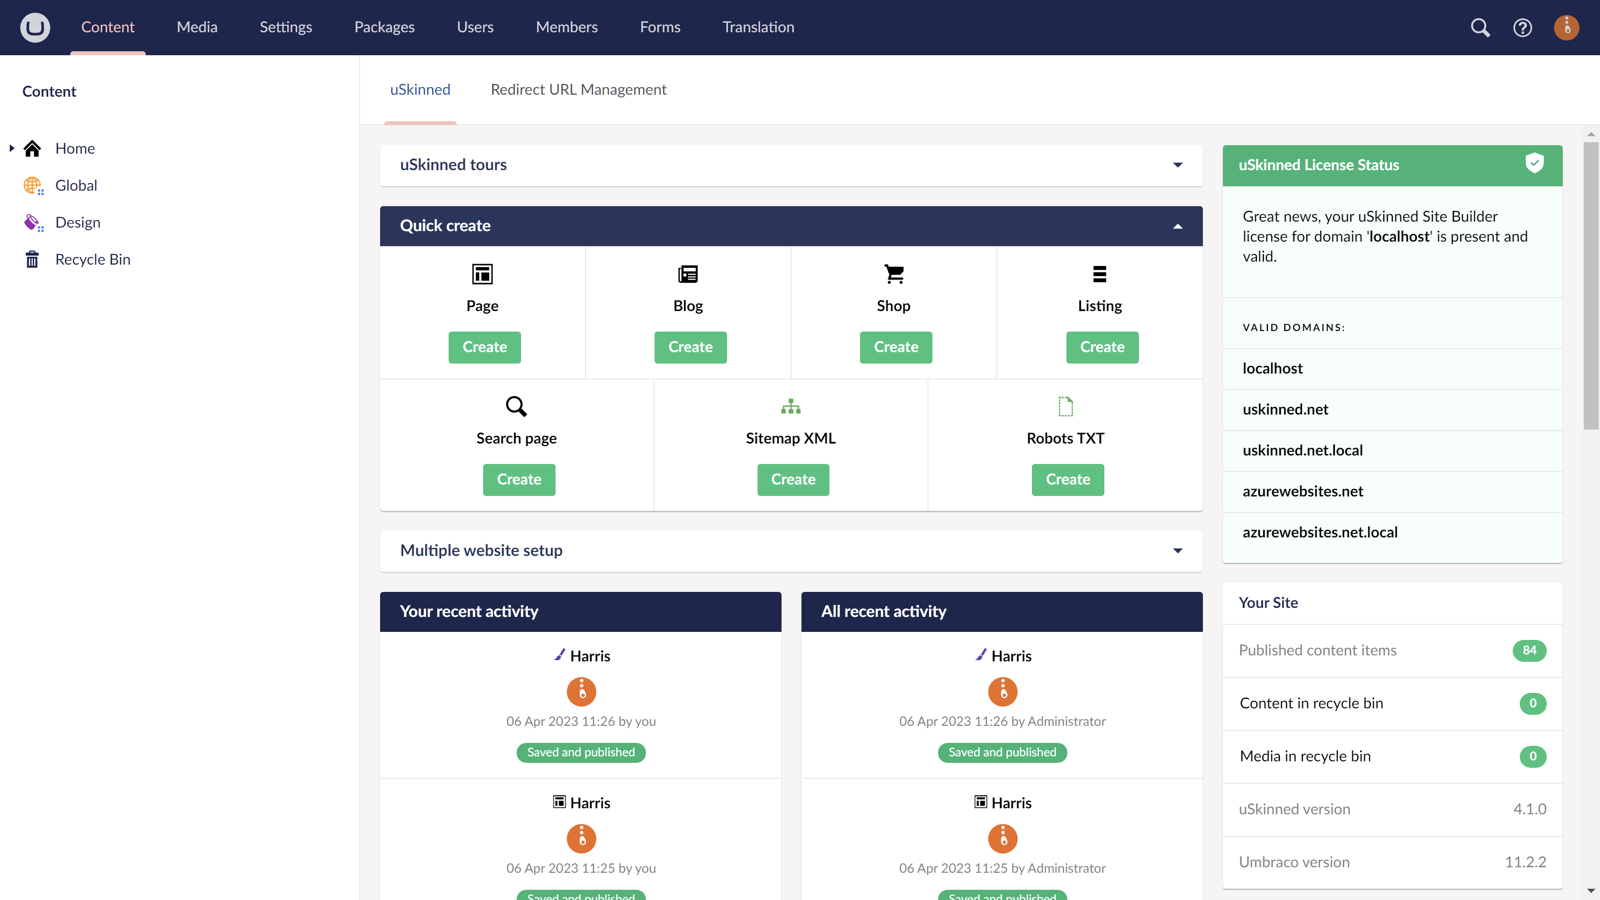
Go to the uSkinned Dashboard.
Step 2
Expand the Quick Create options.
Step 3
Choose to create a Listing.
Step 4
From the slide-out panel, select the placement of your Listing in your site structure.
Step 5
Name your Listing.
Step 6
Your Listing node and associated Filters and Pages folders have now been automatically generated.
These will all remain Unpublished until you click Save and Publish on each individually.

Create your Filters
Step 1
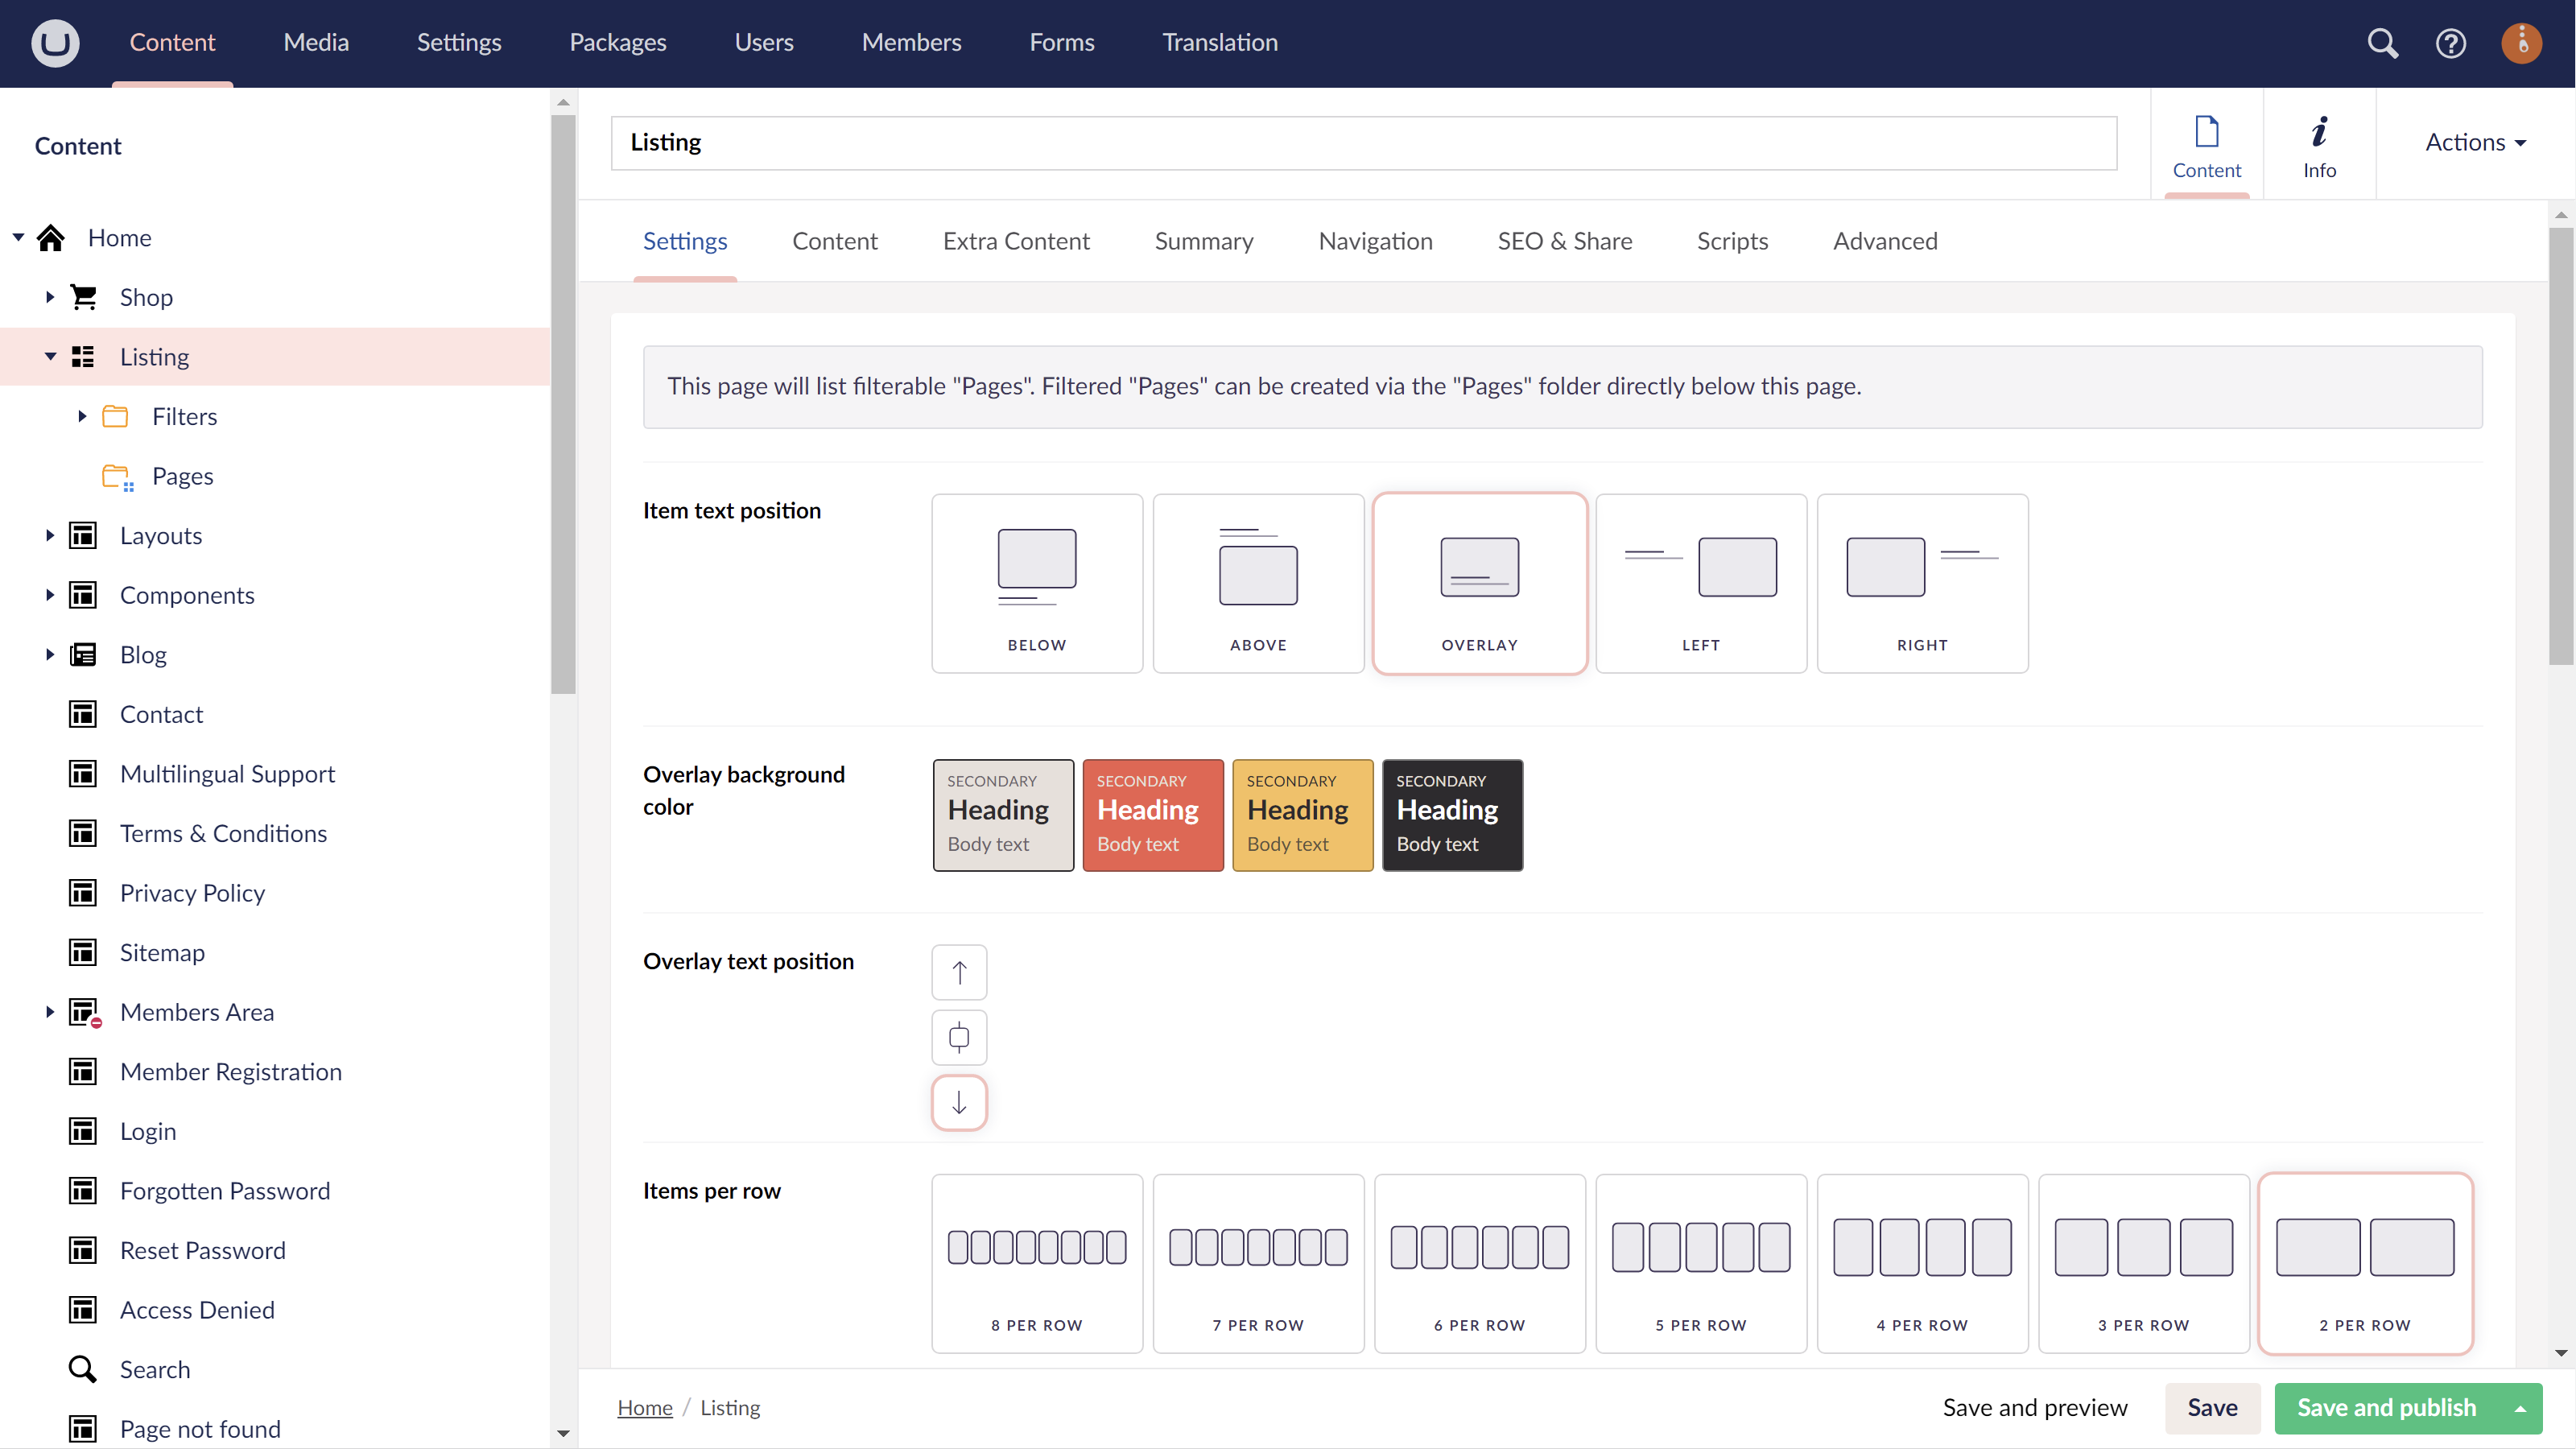
In the tree menu on the left, go to your Listing node.
Step 2
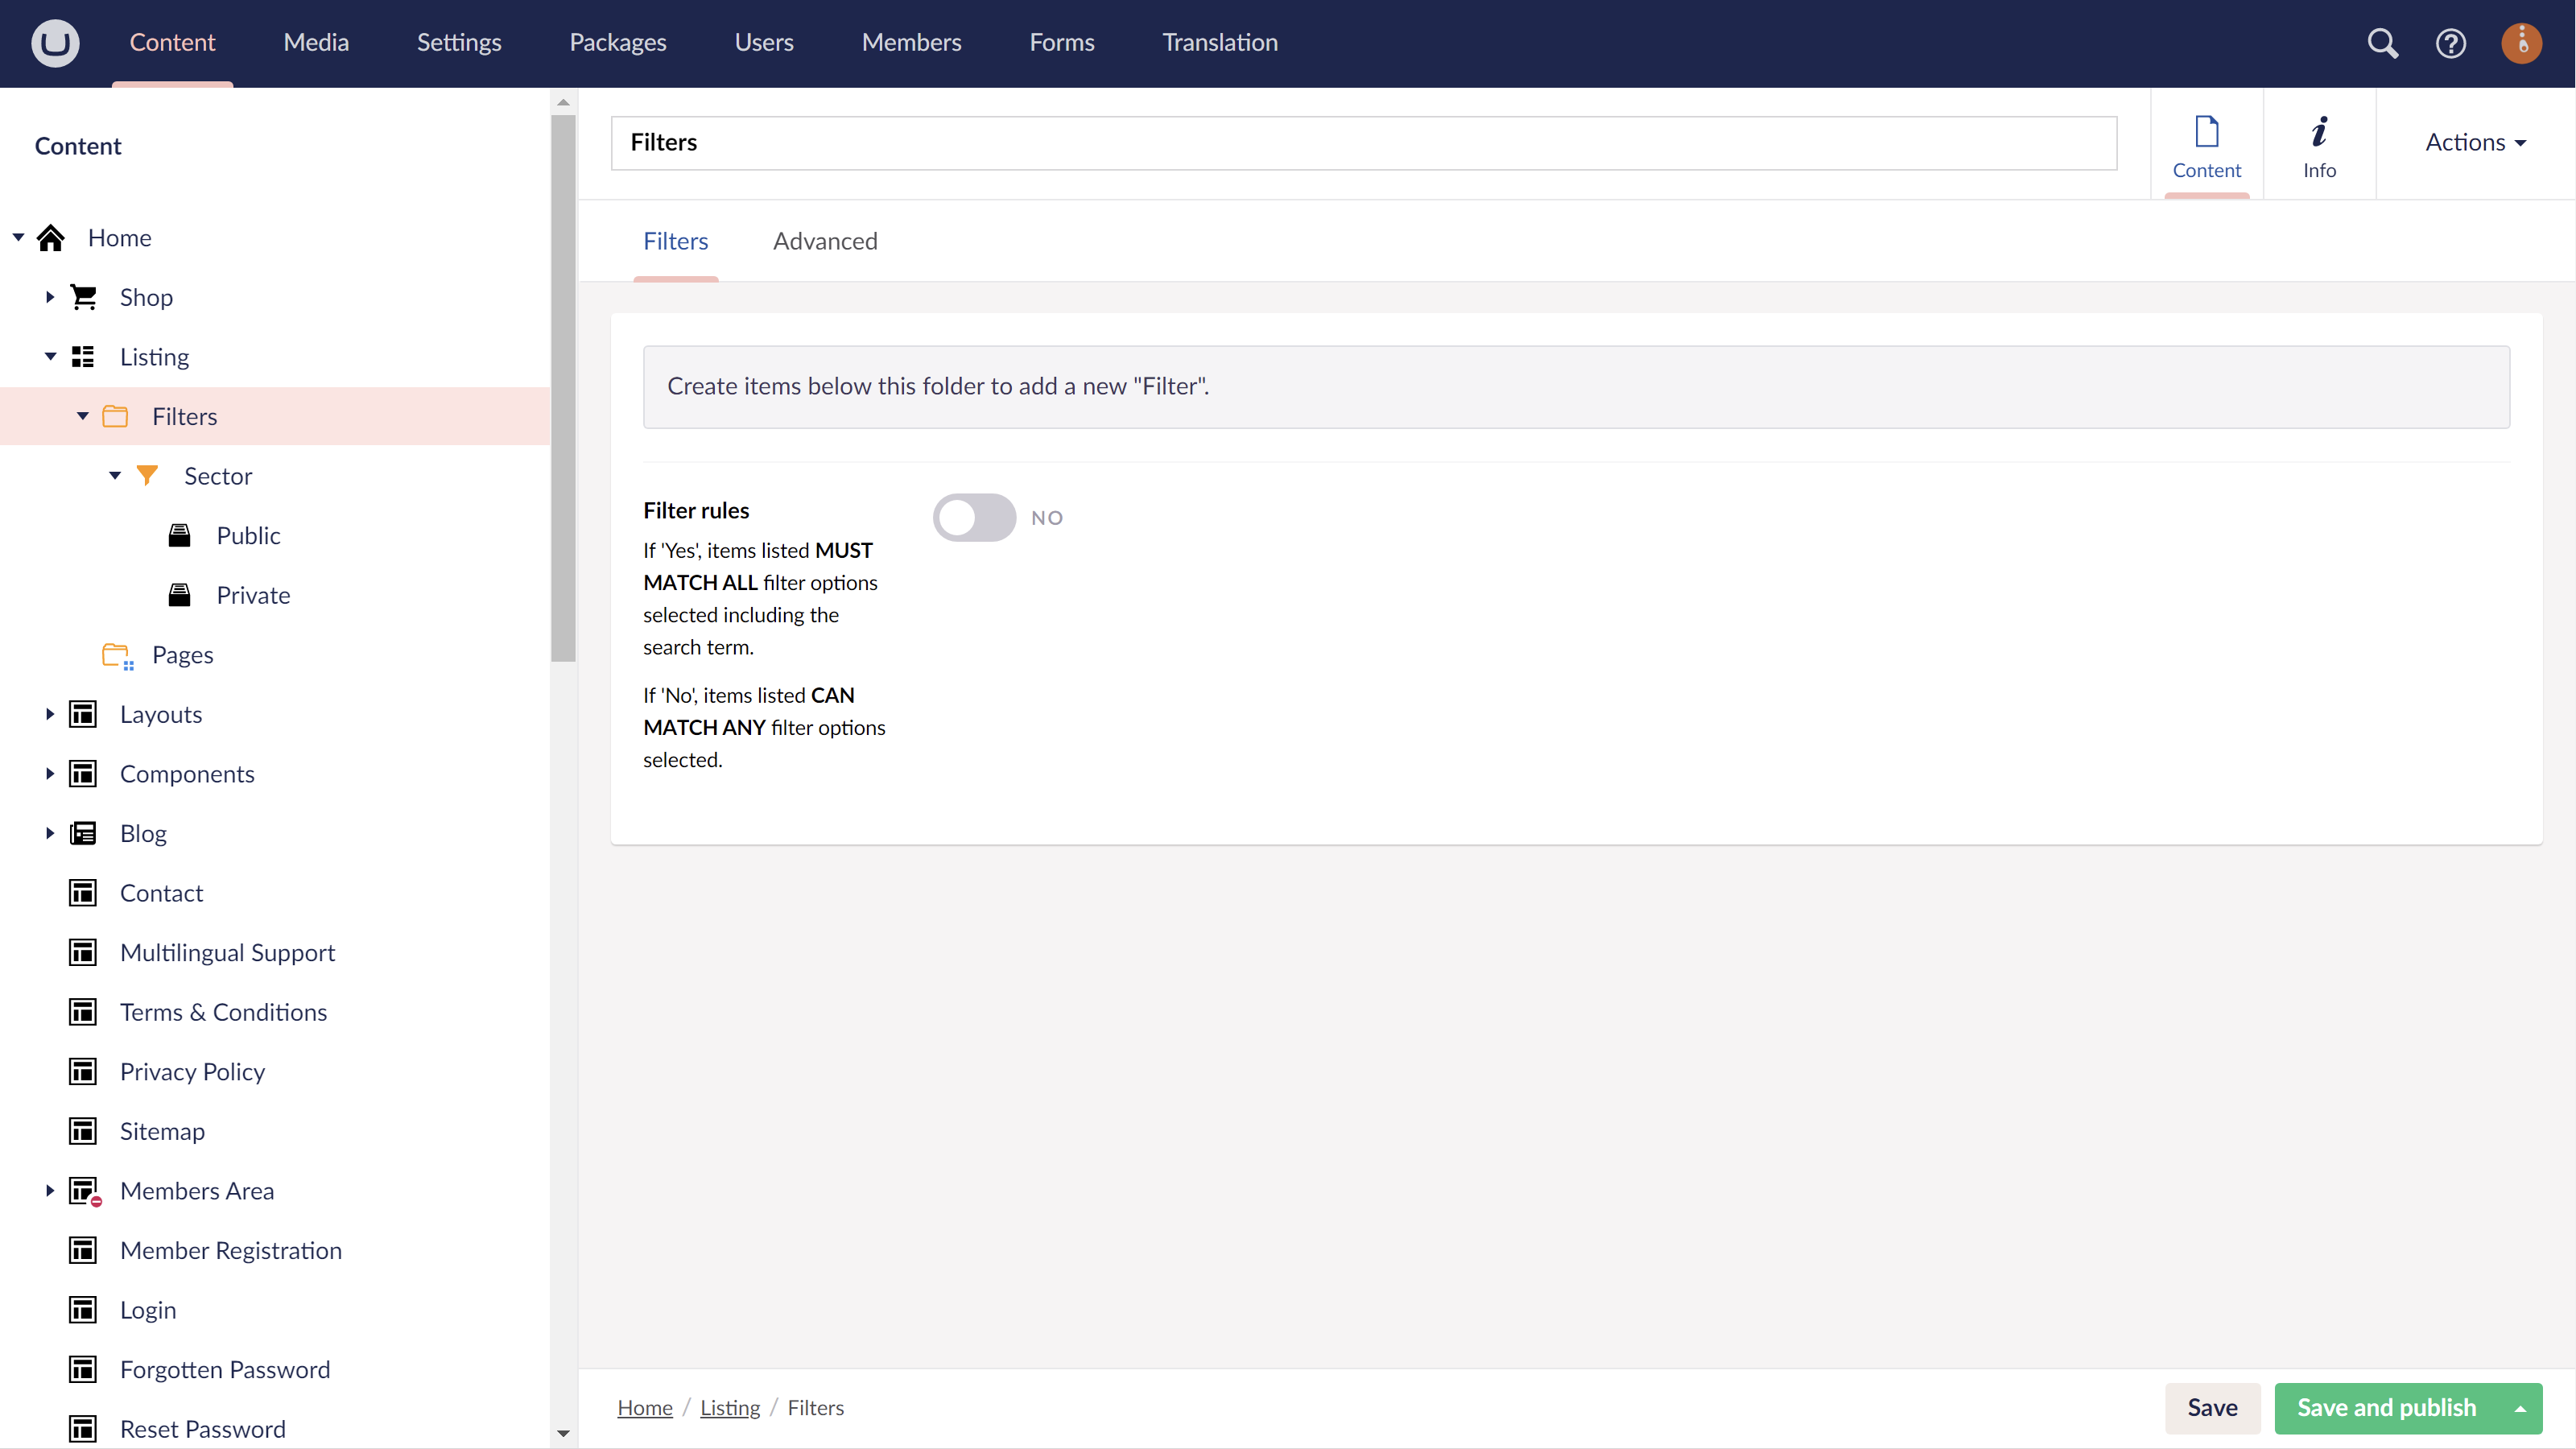
Expand your Listing node and click on Filters.
Step 3
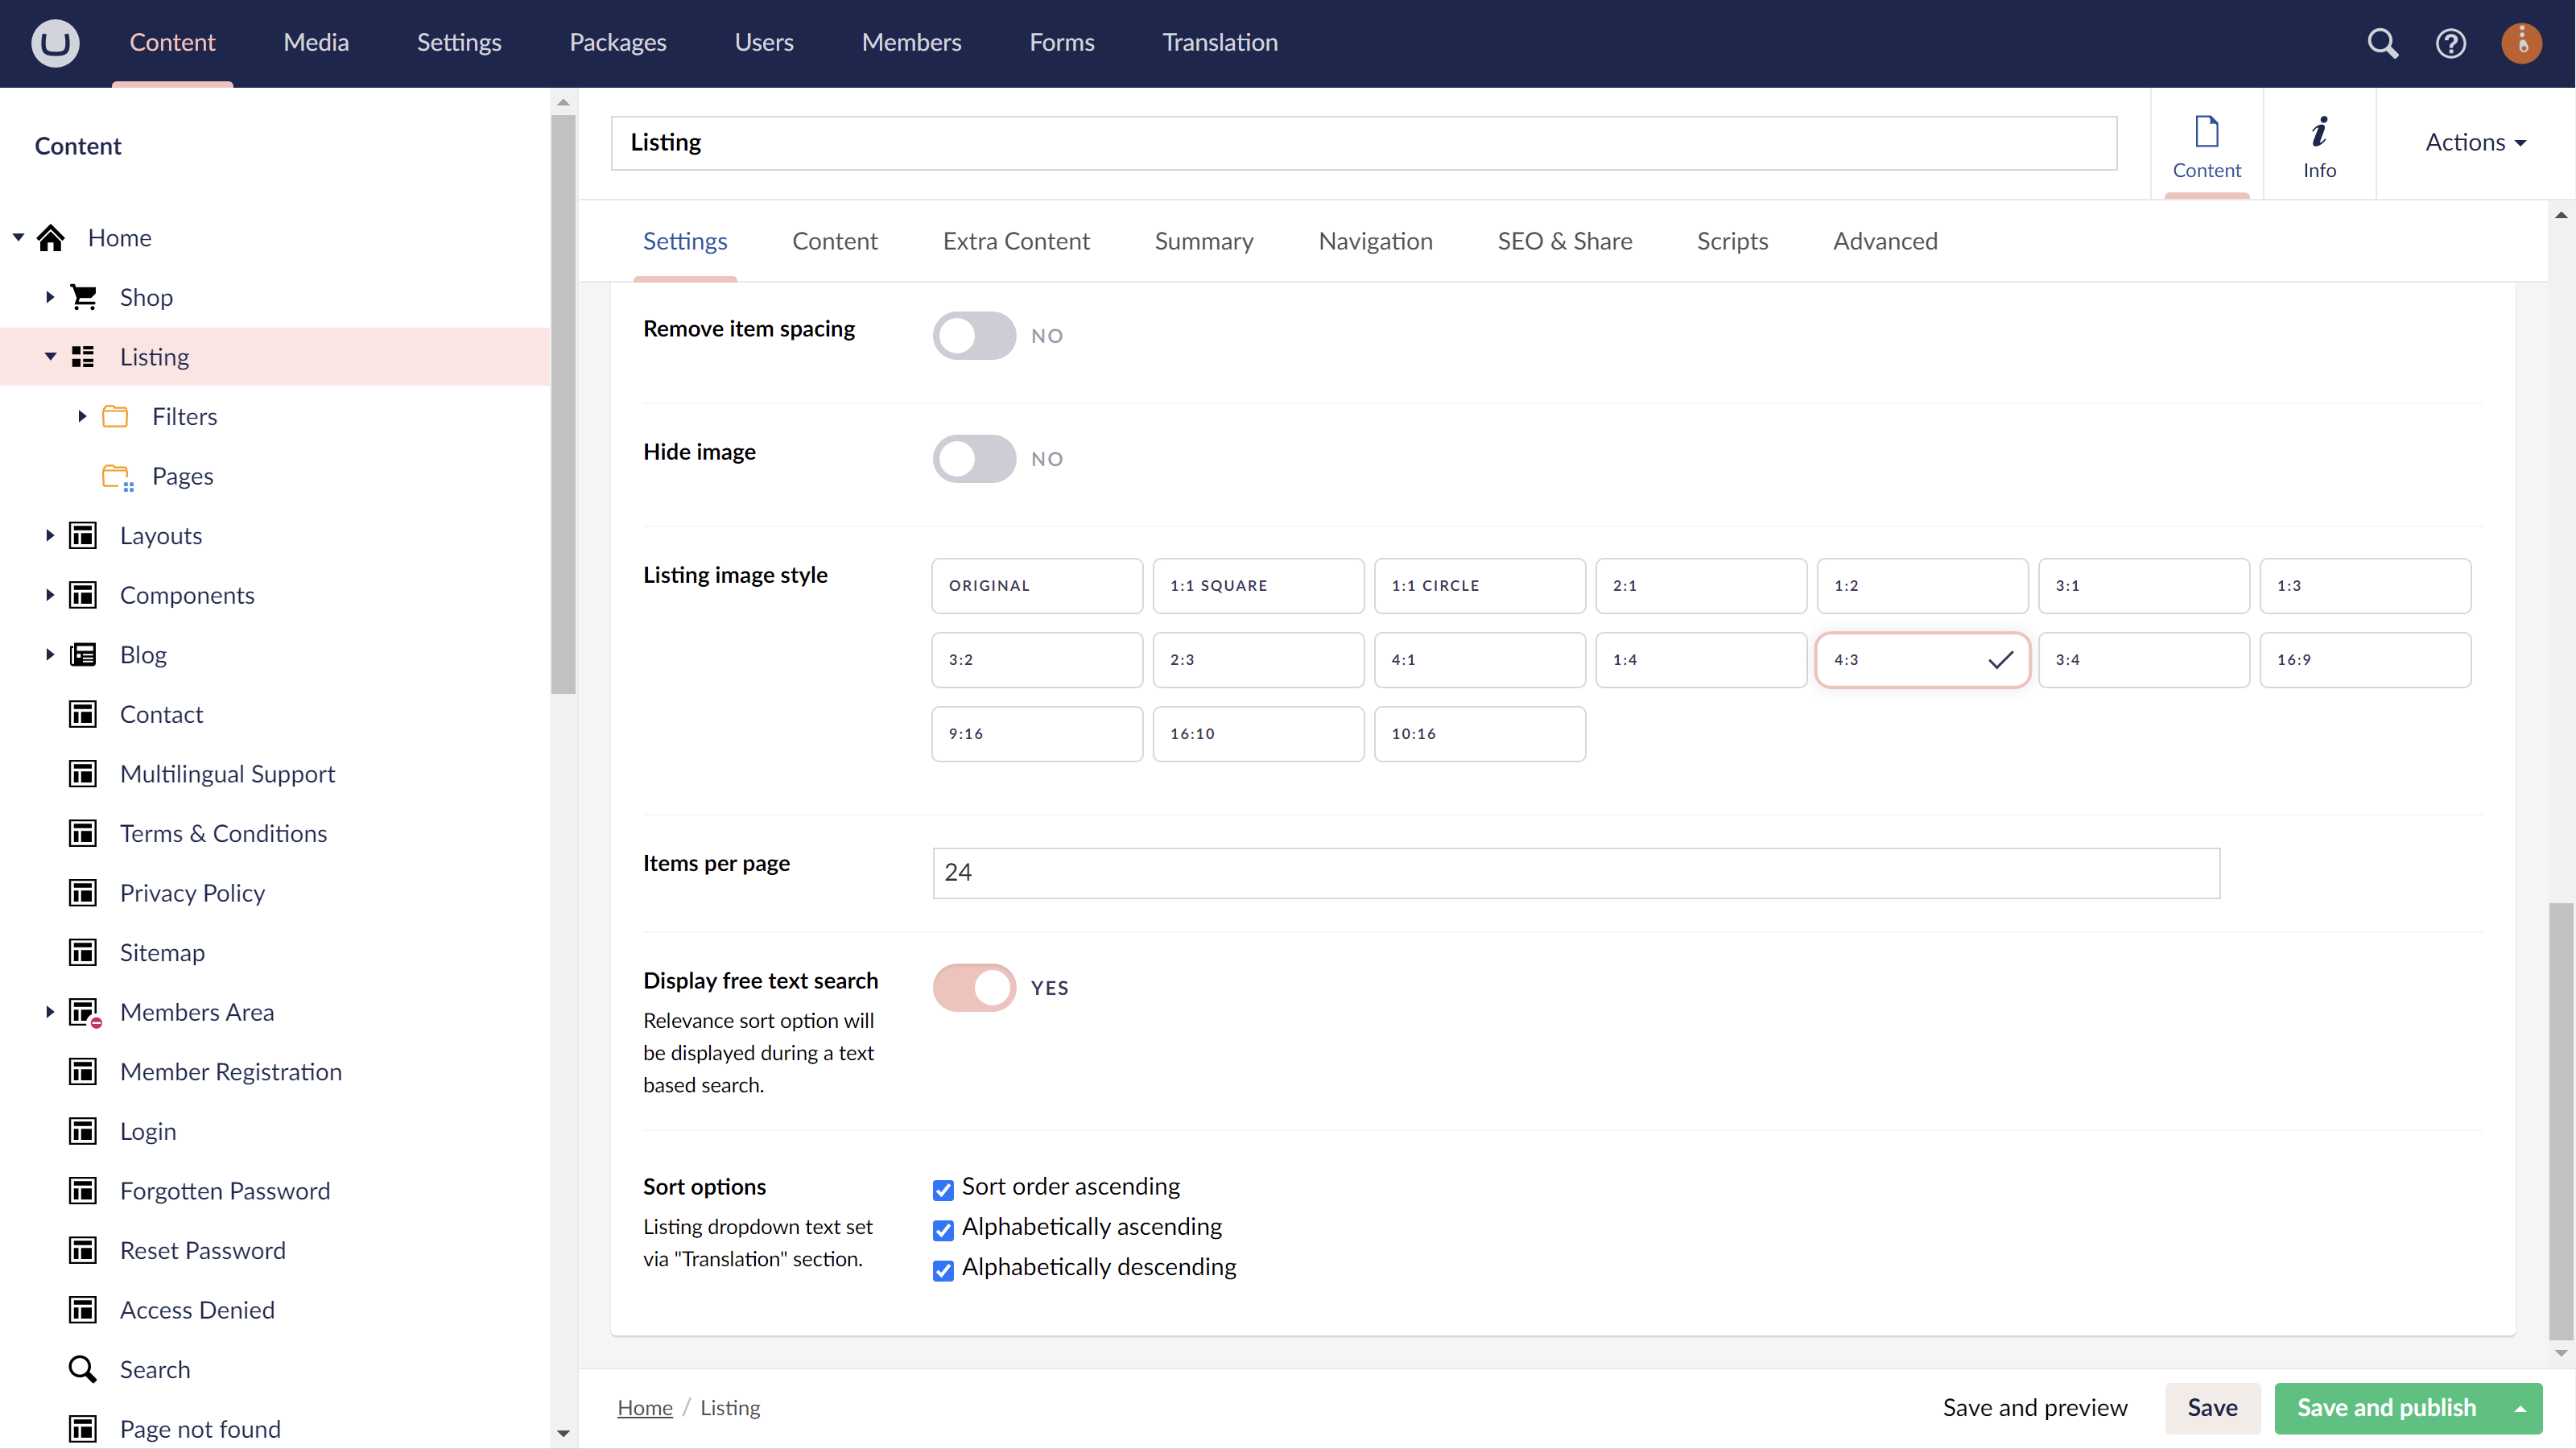
Choose your Filters settings.
Step 4
Create a Filter group below your Filters folder.
Step 5
Choose your Filter Group settings.
You can display the filters as Checkboxes, Radio Buttons or a Select Dropdown.
You can add as many Filters Groups as you like. Each Filter Group can have as many Filters as required.

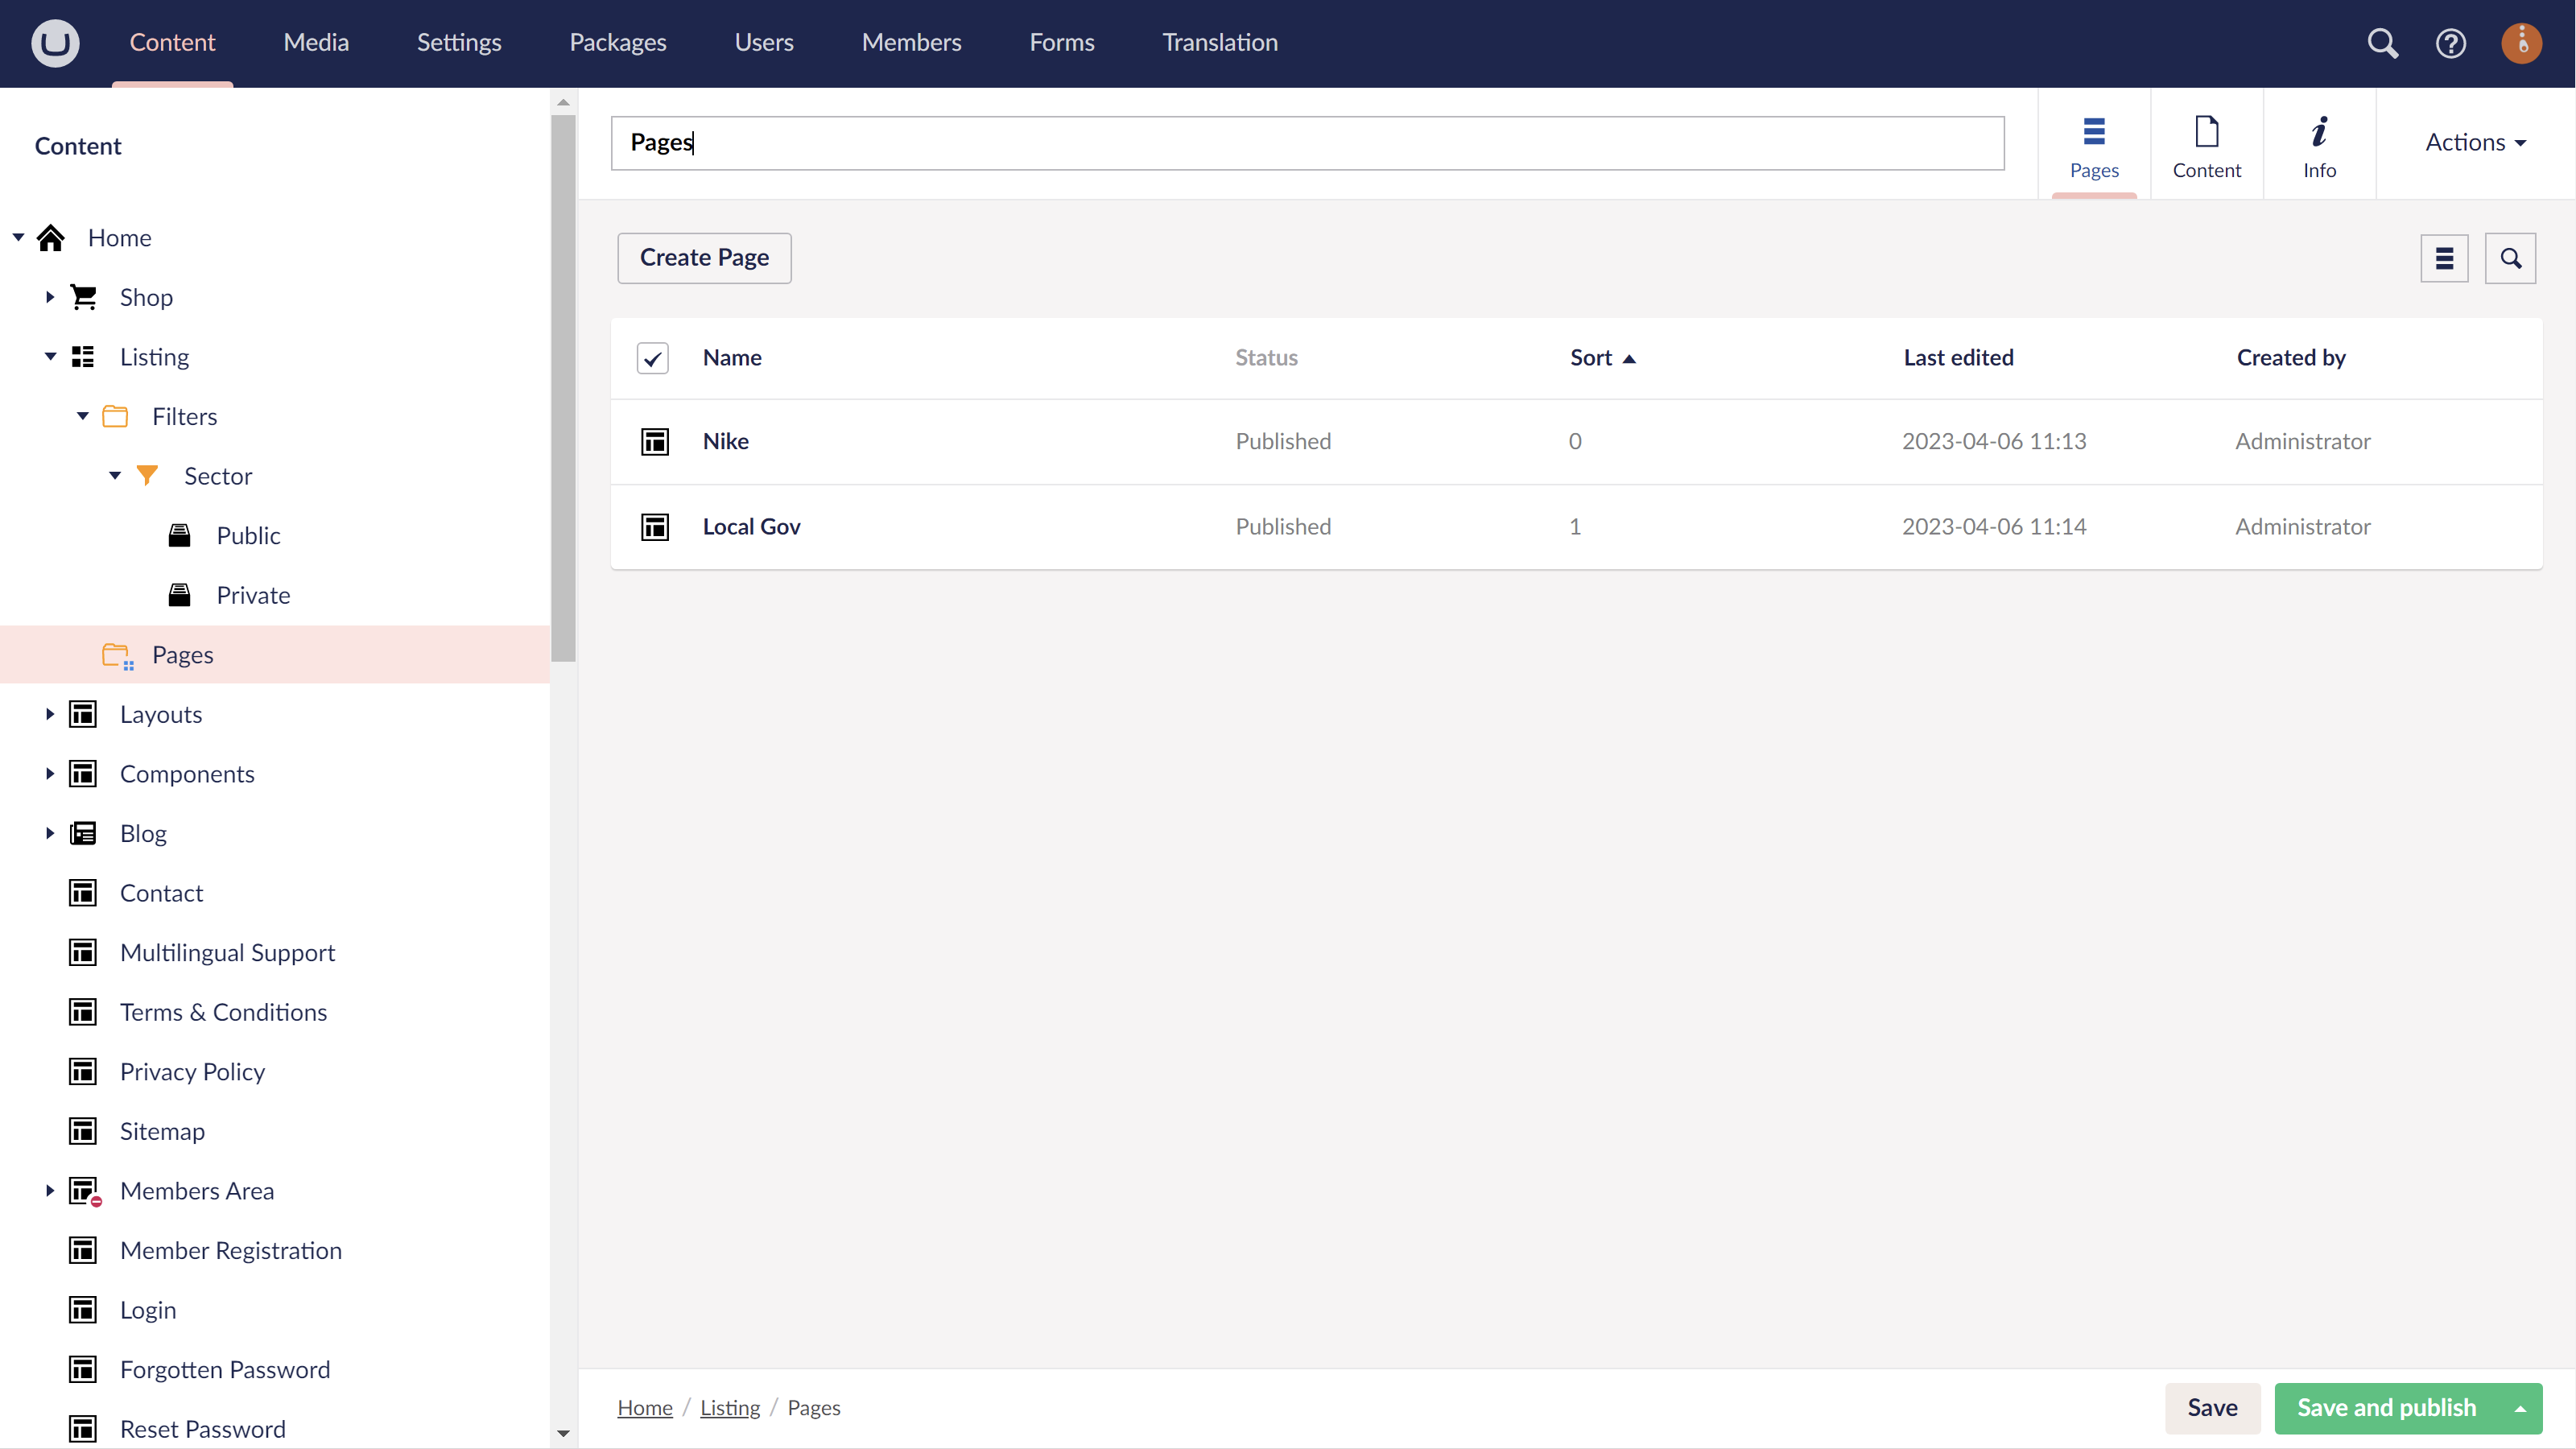
Create your Pages
Step 1
In the tree menu on the left, go to your Listing node.
Step 2
Expand your Listing node and click on the Pages folder.
Step 3
Above your list of Pages, click on the button Create Page.
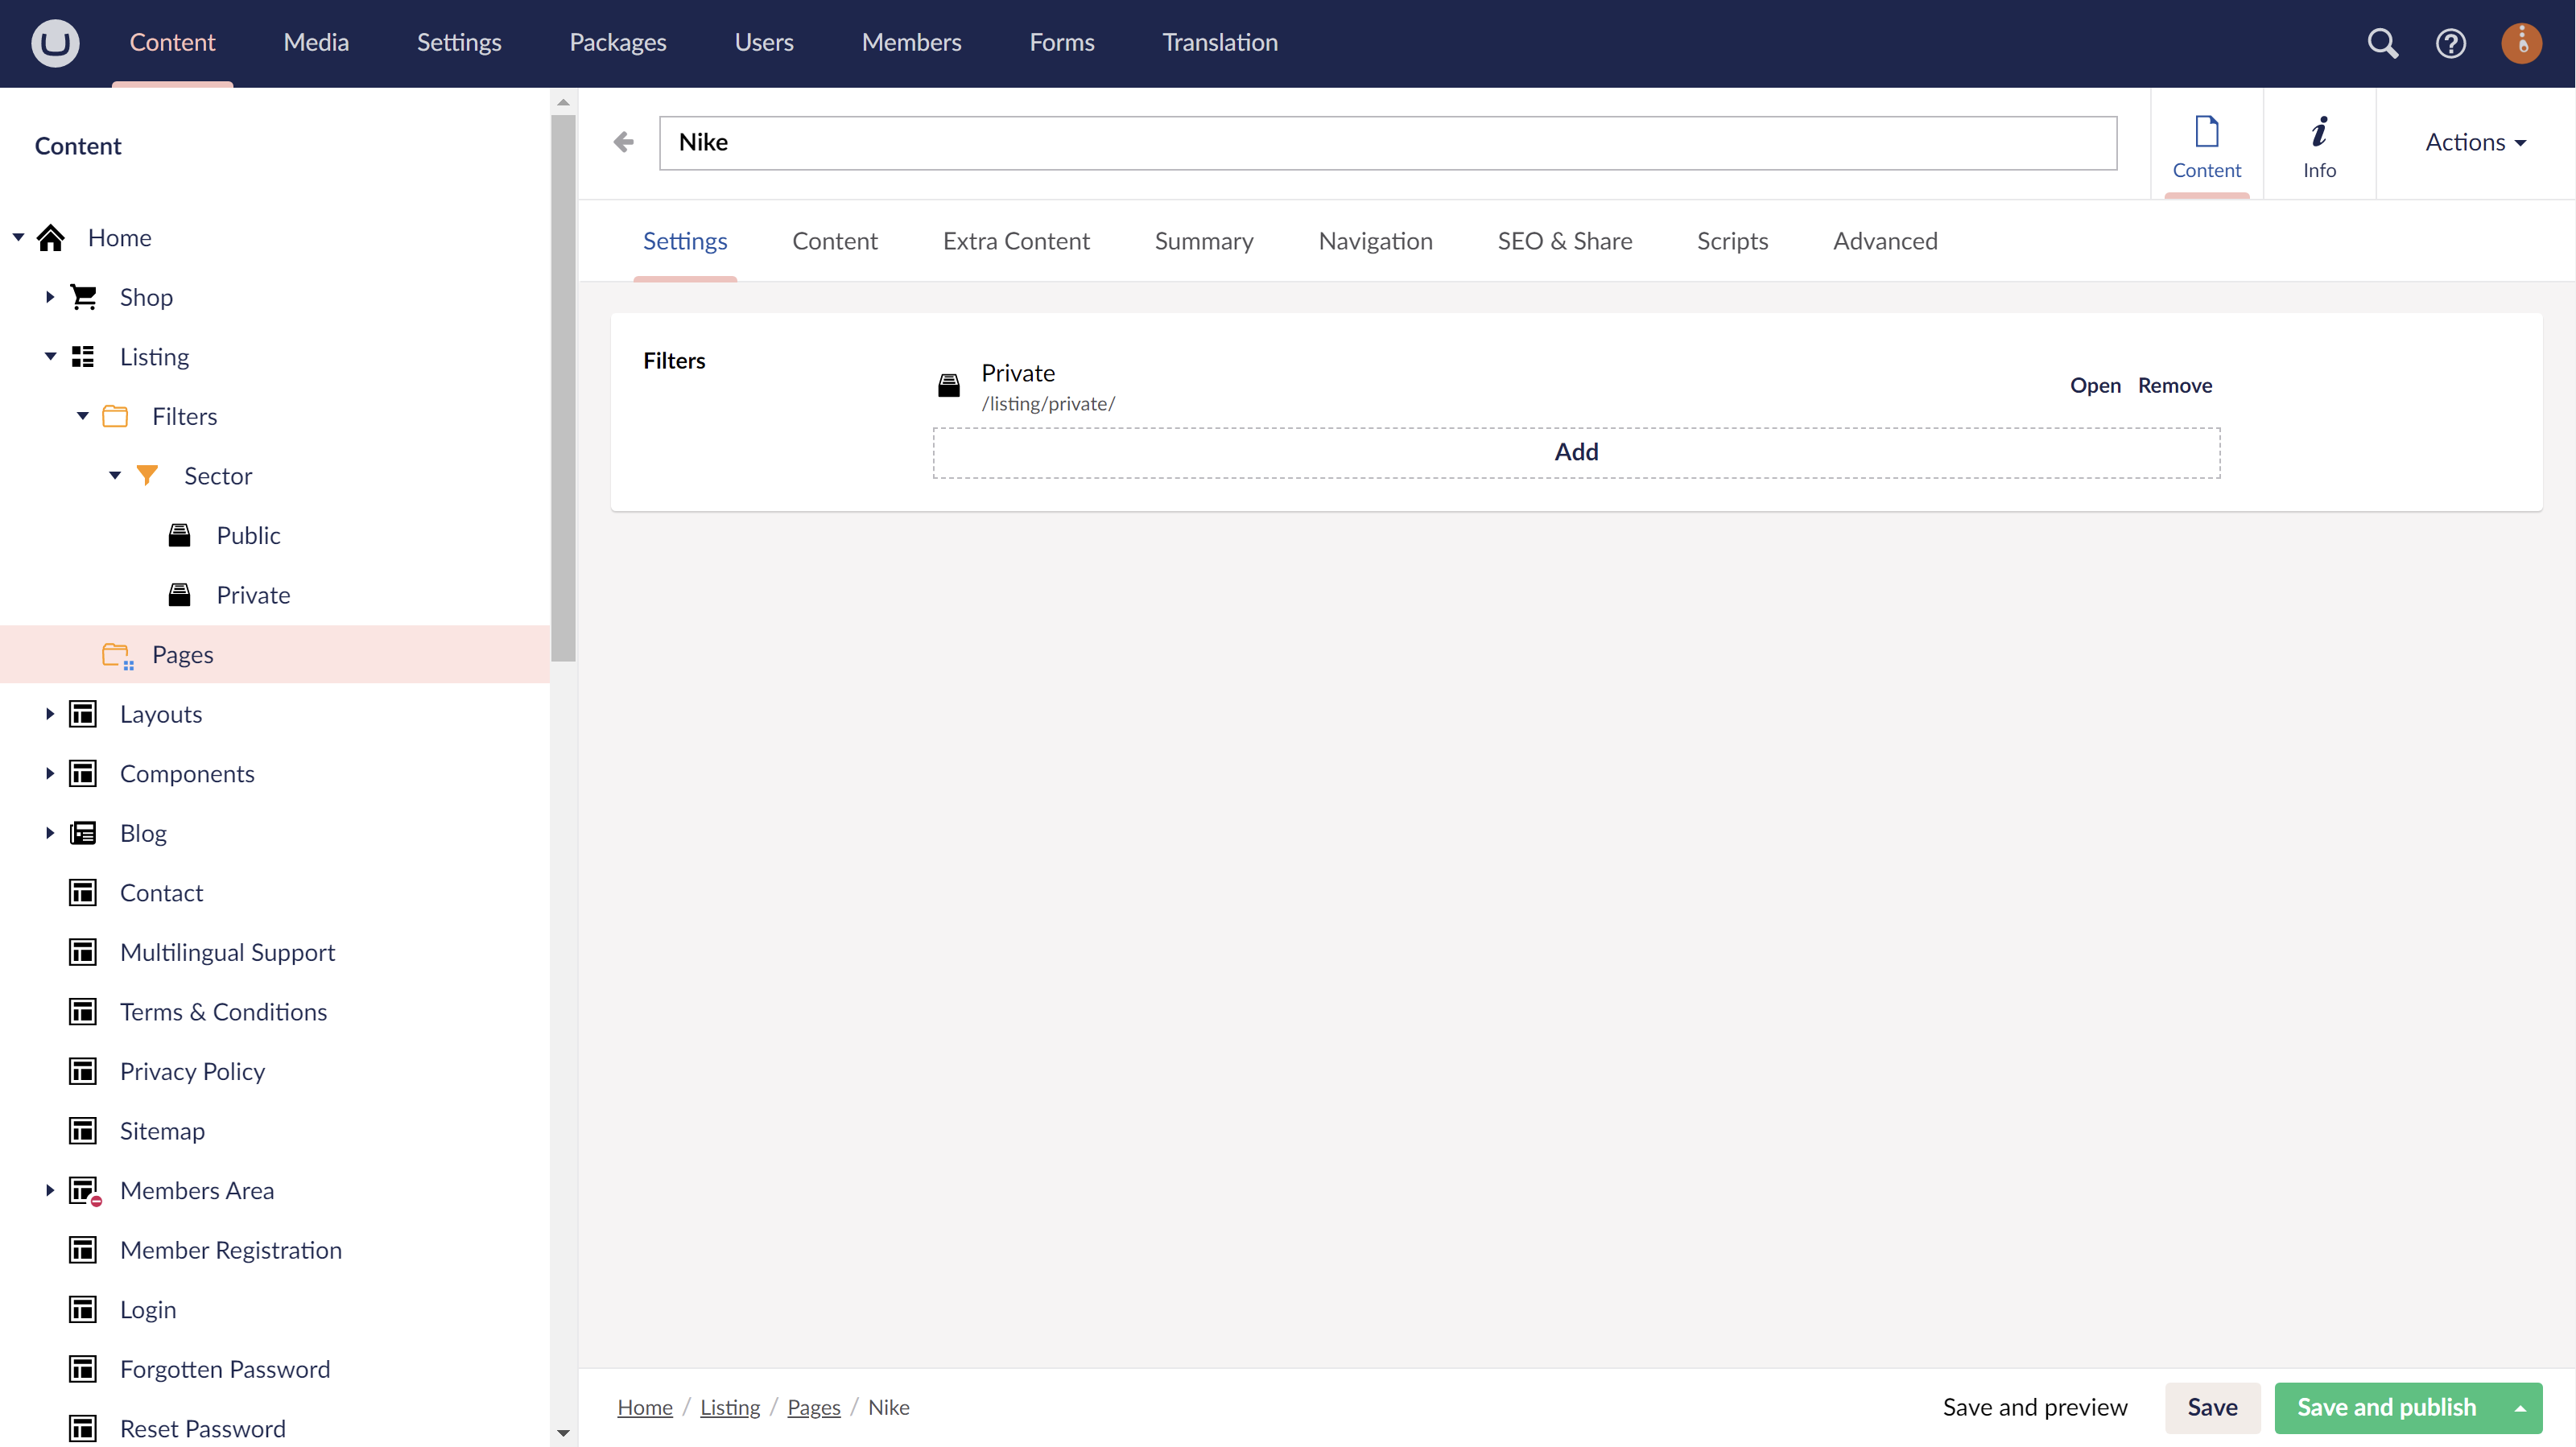
Step 4
Fill in all of the relevant fields, including assigning filters.
Step 5
Go to the Content tab and build up your Listing Page the same way you would build up any other page with uSkinned.
#h5yr


